


- Building a compost bin is easier than you think. With a little planning and a few helpful tips, you’ll be creating your own compost in no time at all.
Getting Started
So, you want to begin composting your food scraps? Fantastic! There are only a few simple steps that lie between you and your composting dreams. Now, how do you get there?
"It’s as simple as: Choosing your location, Finding your right bin, Preparing it for worms, Filling it up."It’s as simple as:
- Choosing your location
- Finding your right bin
- Preparing it for worms
- Filling it up
Okay, let’s get started!
Things you’ll need:
- durable plastic bin
- power drill
- potting soil
- red wiggler worms
Step 1: Choose the Right Location
Before you start buying materials, the first thing you need to think about is where you plan on placing your bin. Depending on the location you choose, you’ll want to use different bins, filling them with altered ingredients. Here’s a look at the differences between each location.
Outside
If you’re looking to get your feet wet in the compost game, outdoor composting is the best way to get started. Nature’s own way of recycling, outdoor composting is the simplest method of returning old materials back to the ground.
Compost piles need a precise amount of water to decompose effectively, and outdoor compost bins are no different. If you want to save multiple trips with the watering can, the ideal location to place your bin is within the reach of a garden hose. This will allow you to easily moisturize each additional layer of compost as you add to your bin.
An additional advantage of outdoor composting is that with extra space, you’re always able to have fresh compost on hand. This is done by creating a three-stage system that separates raw materials, mid-stage compost, and finished compost.
Inside
While outdoor composting requires less maintenance, indoor composting provides an easier option for those who don’t have access to a yard. Part of this accessibility comes from the fact that indoor compost bins take up very little space while also being able to work year-round.
Additionally, because compost relies on heat to break down materials, the winter season can slow things down. Indoor composting is an excellent way to continue this process year-round without any environmental disruptions.
Step 2: Find a Bin
The correct bin is the crucial foundation for any healthy compost project. When deciding on what bin to use, keep in mind that this is a great opportunity to get creative and use an old plastic container lying around the house. There are just a few factors that you’ll need to keep in mind when making your decision. Here’s a more detailed look.
Depth
You’d think the bigger the bin you use, the more compost you’ll be able to create. Unfortunately, intuition doesn’t always lead us to the correct answer. To help explain why this is the case, we must first focus on what’s going on inside the bin itself. It’s here where our composting rock stars take center stage. Eisenia fetida, or red wigglers, are the type of worms that do the best job converting old waste into usable compost. Unlike their earthworm cousins, red wigglers prefer to live on the top six inches of the soil, making them surface dwellers. Using a tall bin is fine as long as compost ingredients are added in thin batches, ensuring that your worms will be able to reach the lower levels.
Material
Because composting involves moisture and heat, your bin will need to be able to withstand all of these elements. Thankfully, most store-bought plastics will be able to handle most composting pressures.
One other factor to consider is the smell. If your bin is located outdoors, it’s a nice gesture to be respectful of neighbors; if your bin is indoors, it’s a must. This problem is usually solved by changing the ratio of compost material within your bin and double-checking that the lid is securely tightened.
Step 3: Drill Holes
The composting process doesn’t work unless your bin has enough oxygen to feed the bacteria and worms inside. To achieve this balance, it’s crucial to drill holes in either the top or sides of the bin for ventilation. Don’t forget to turn the contents of the bin at least once a week, doing so will ensure that there’s enough oxygen feeding the middle of your compost pile. An easy way to tell if your compost pile needs to be turned is by placing a thermometer in it to see whether the center is the appropriate temperature (up to 160 degrees). This step is important because the composting process gives off a great deal of heat which kills off plant seeds and harmful bacteria. Here are a few key elements to consider when drilling your holes.

Height
Placing your ventilation holes towards the top of the bin is key. Red wiggler worms tend to try and escape their environment whenever they aren’t completely satisfied. Don’t panic. Reasons for these prison breaks range, and not all of them mean that you are a bad worm parent. Some include a lack of oxygen (which can easily be fixed with a fresh turn of the pile), to a variety of environmental conditions including excessive moisture, lack of moisture, baby worms, or even an imbalance in pH levels.
Width
Since red wiggler worms love making a break for it, it’s important to drill holes that make it difficult for them to escape. This means that any hole larger than the diameter of a pencil offers a greater opportunity for escape. The best option is to install a mesh screen over the ventilation holes to ensure that no one gets out.
Step 4: Fill with Dirt and Decomposers
Once your bin is constructed, it’s now time for the fun part. However, before we start adding in food scraps and yard waste, we must first build our foundation. Adding a light sprinkling of garden soil or recently finished compost between layers of our green and brown materials can help create a suitable environment for the types of bacteria needed to trigger the composting process. This type of compost starter can usually be found at most hardware or gardening stores. After the basic ingredients, what you place in your bin will change depending on where it’s located. Here’s a breakdown of each location.
Outside
Outdoor compost bins require significantly less effort to maintain but still demand special handling depending on the climate. Cold weather often leads to slower microbial growth, which slows down the composting process depending on how long the cold weather lasts. It may seem counterintuitive, but regularly turning your bin is one of the best ways to ensure that it stays warm throughout the winter. Turning your pile evenly distributes oxygen, which allows your bacteria to thrive.
One other important element to consider when composting outdoors is size. The helpful bacteria that power your compost live at the center of your pile. Adding more to your pile during colder months further protects the center, allowing it to remain active even during prolonged cold spells.
Inside
The biggest concern people have with indoor compost bins is the smell. Thankfully, this doesn’t have to be the case if you take the appropriate steps.
When adding ingredients to an indoor bin, it’s important to create a bed of soil where you can place old food scraps and other nitrogen rich “green” materials. Be careful, too many nitrogen-rich materials can lead to your bin creating offensive odors. To prevent this, it’s best to bury your “green” materials in the dirt and cover them with carbon heavy “brown” materials.
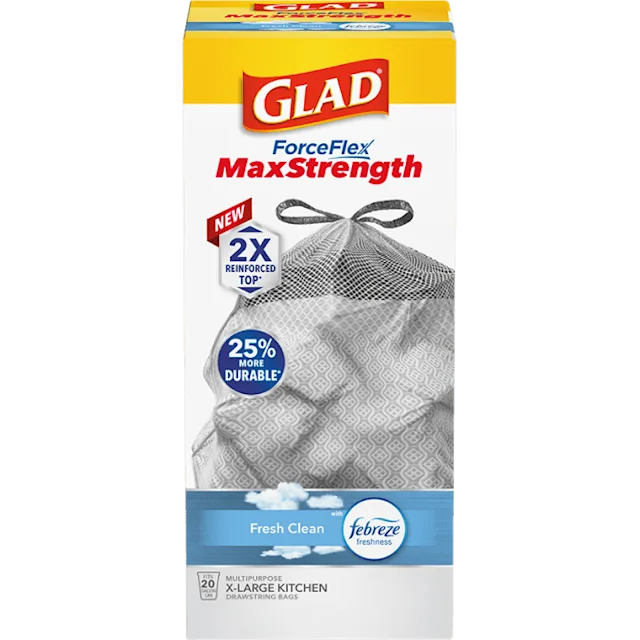
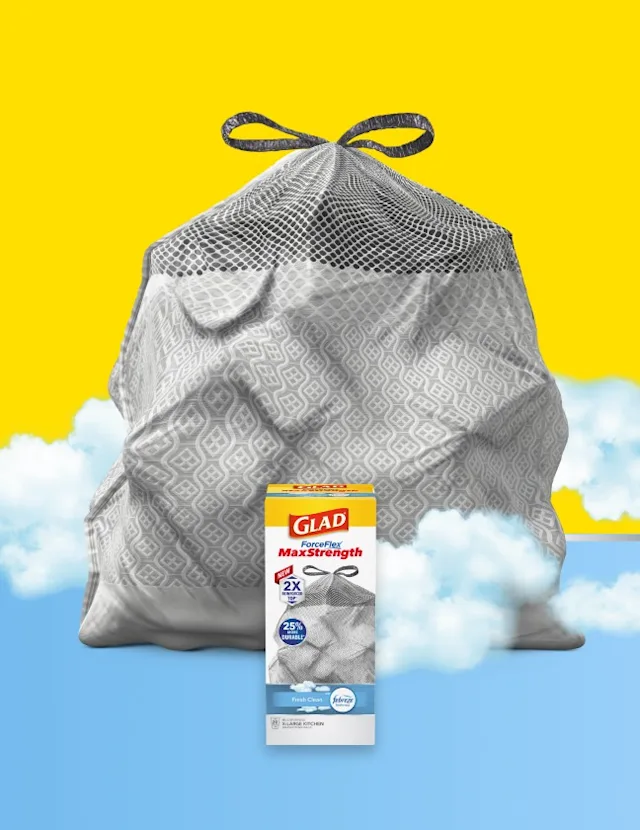
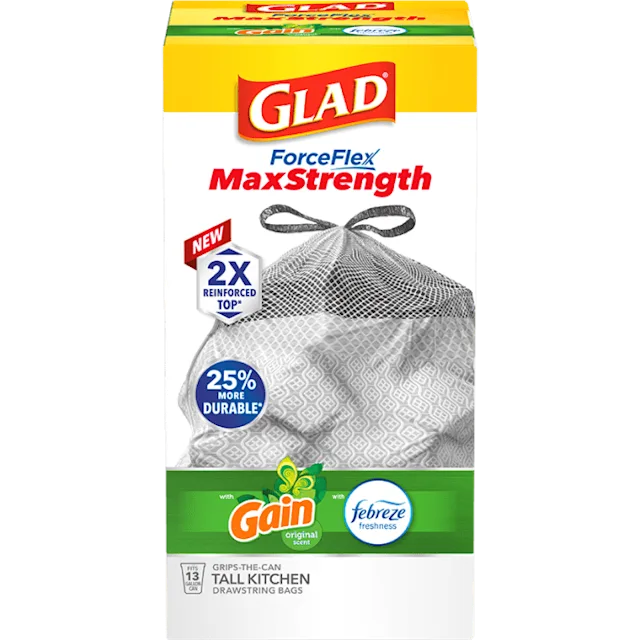
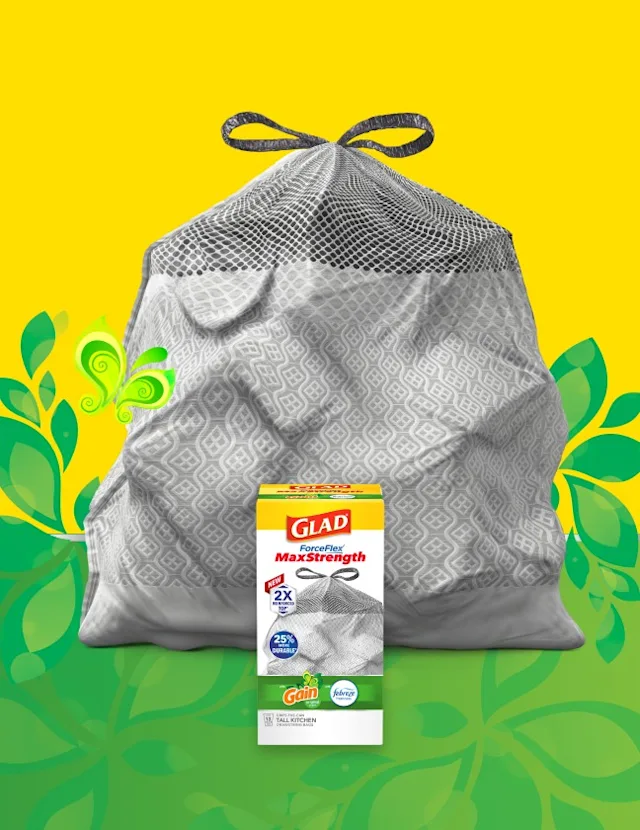
Using Glad Lemon Scented Kitchen Compostable Bags can also help keep odors in check while making it easy to transport scraps to your bin.


TRASH BAGS FOR YOUR TOUGHEST JOBS— IN AND OUT OF THE KITCHEN
Please enable cookies to shop
Please enable cookies to shop

Please enable cookies to shop
Please enable cookies to shop